
How to Resize Video for Shorts, Reels, and TikTok: Crop, Blur, or Reframe
Learn how to resize video for Shorts, Reels, and TikTok with the right framing method. Compare smart crop, blur background, subject-aware reframe, and custom sizing for different footage types.

A lot of video resizing problems are not really about dimensions.
They are about composition loss.A landscape clip gets pushed into 9:16, and one of three things usually happens: the subject gets cropped too aggressively, the frame turns into a black-bar compromise, or important context near the edges disappears. That is why "video resizer" is often too narrow a description. The real job is deciding how a video should be adapted for a new format.
That is where Sparki's Video Resizer matters. It does not force every clip through one resizing path. Depending on the footage, you can resize with smart crop , preserve more of the original frame with blur background , or use custom sizing and framing when the shot needs more control.
The fast decision: which resize method should you use?
| Footage type | Best resize method | Why it works | | Talking head, commentary, single speaker | Smart crop | Keeps the subject large and centered | | Podcast clip or interview highlight with light movement | Subject-aware reframe | Follows the focal point more naturally | | Screen recording, slides, gameplay, software demo | Blur background or fill | Preserves the full frame and edge details | | Multi-person interview or wide discussion | Manual or custom framing | Avoids losing one subject entirely | | Video with important edge text, captions, or UI | Fill layout plus review | Safer than aggressive crop |
That is the real product story for this feature. Resizing is not one action. It is a set of framing choices based on what the footage is doing.
Resize is not just resize
People use "resize video" as if it means one thing, but there are actually three different jobs hiding inside the phrase.The first is resolution change. That is mostly technical. You are making the file larger or smaller for delivery, upload speed, or platform requirements.
The second is aspect ratio conversion. This is where a 16:9 frame becomes 9:16, 1:1, or 4:5. Now the question is no longer just file size. It is what remains visible inside the new frame.
The third is reframing. This is the editorial layer. If the speaker moves, the product demo happens near the edge, or on-screen text sits close to the margins, a hard center crop will not hold up. A vertical export can be technically correct and still look wrong.
That distinction matters because many tools solve only the second layer. They can output a vertical file, but they do not help much with the framing decision. A stronger workflow understands when crop is enough, when preserving more of the original frame matters more, and when AI should follow the subject.
What a strong video resizer actually needs to solve
A weak resizer changes the canvas. A useful one protects the shot.For creators and teams repurposing content across YouTube Shorts, Instagram Reels, TikTok, feed posts, and landscape channels, the recurring problems are consistent:
-
the subject does not stay framed well after aspect-ratio conversion
-
the vertical version cuts off text, UI, or captions
-
a wide source shot looks cramped when forced into crop-only output
-
each destination format becomes another review cycle
That is why a supporting article for a feature page should not describe resize like a simple export preset. The hard part is not selecting 9:16. The hard part is getting a usable 9:16 version without damaging what made the original shot work.
Two failure modes that waste the most time
-
Black bars or a destructive zoom
This is the classic 16:9 to 9:16 problem. Keep the full frame and the result feels padded or empty. Zoom in too hard and image quality drops while context disappears.
That is not just a bad user choice. Sometimes the source footage was composed too wide to survive a clean vertical crop. In those cases, blur background or another fill treatment is the better answer. Some footage should preserve more of the original frame, even if that means the main video sits inside a designed vertical layout rather than filling the whole screen.
-
Text and overlays get cut off after posting
This is one of the most frustrating workflow breaks because the issue often shows up after export. Text that looked safe in preview can end up too close to the edge once the platform applies its own display treatment.
This is why subject-aware crop is helpful but not sufficient. It can protect the main focal point, but it does not automatically protect every subtitle block, label, UI panel, or product detail. If the shot depends on edge text, preserving more of the source frame is often safer than forcing a tighter crop.
How Sparki's Video Resizer supports different resize workflows
Sparki is better understood as a multi-method video resizing workflow rather than a single resize utility.
1. Smart crop for subject-led footage
When the source has one clear focal point, crop is often the strongest option. A vertical frame can feel native instead of adapted, and the subject remains visually dominant.This is the best fit for:
-
creator commentary
-
webcam videos
-
interview highlights
-
face-led explainers
-
reaction clips
The advantage is straightforward: the subject stays prominent. The limit is equally clear: if the speaker moves too much, or the composition depends on width, crop alone will not hold.
2. Blur background when preserving the original frame matters more
Not every clip should be forced into full-screen vertical crop. Some footage carries important information across the width of the source frame.That is where blur background or a fill-style layout is the better answer.This is the better fit for:
-
gameplay footage
-
tutorials
-
product walkthroughs
-
UI-heavy software demos
-
slide-based presentations
-
landscape shots with important edge context
This path preserves more of the source while still producing a platform-ready version. It is especially useful when aggressive crop would remove labels, interface elements, or visual context the viewer actually needs.
3. Subject-aware reframe when the focal point moves
Some clips are crop-friendly in principle, but not with a fixed crop. The subject shifts, gestures, leans, or moves enough that a static frame quickly feels sloppy.
That is where subject-aware reframing makes sense. The goal is not perfect automation. The goal is a much better first pass that follows the thing that matters, so review stays short instead of turning into manual re-keyframing.This is especially useful for:
-
podcast clips
-
walking-and-talking footage
-
moving interview highlights
-
demos with an obvious focal point
-
wider clips being adapted for short-form
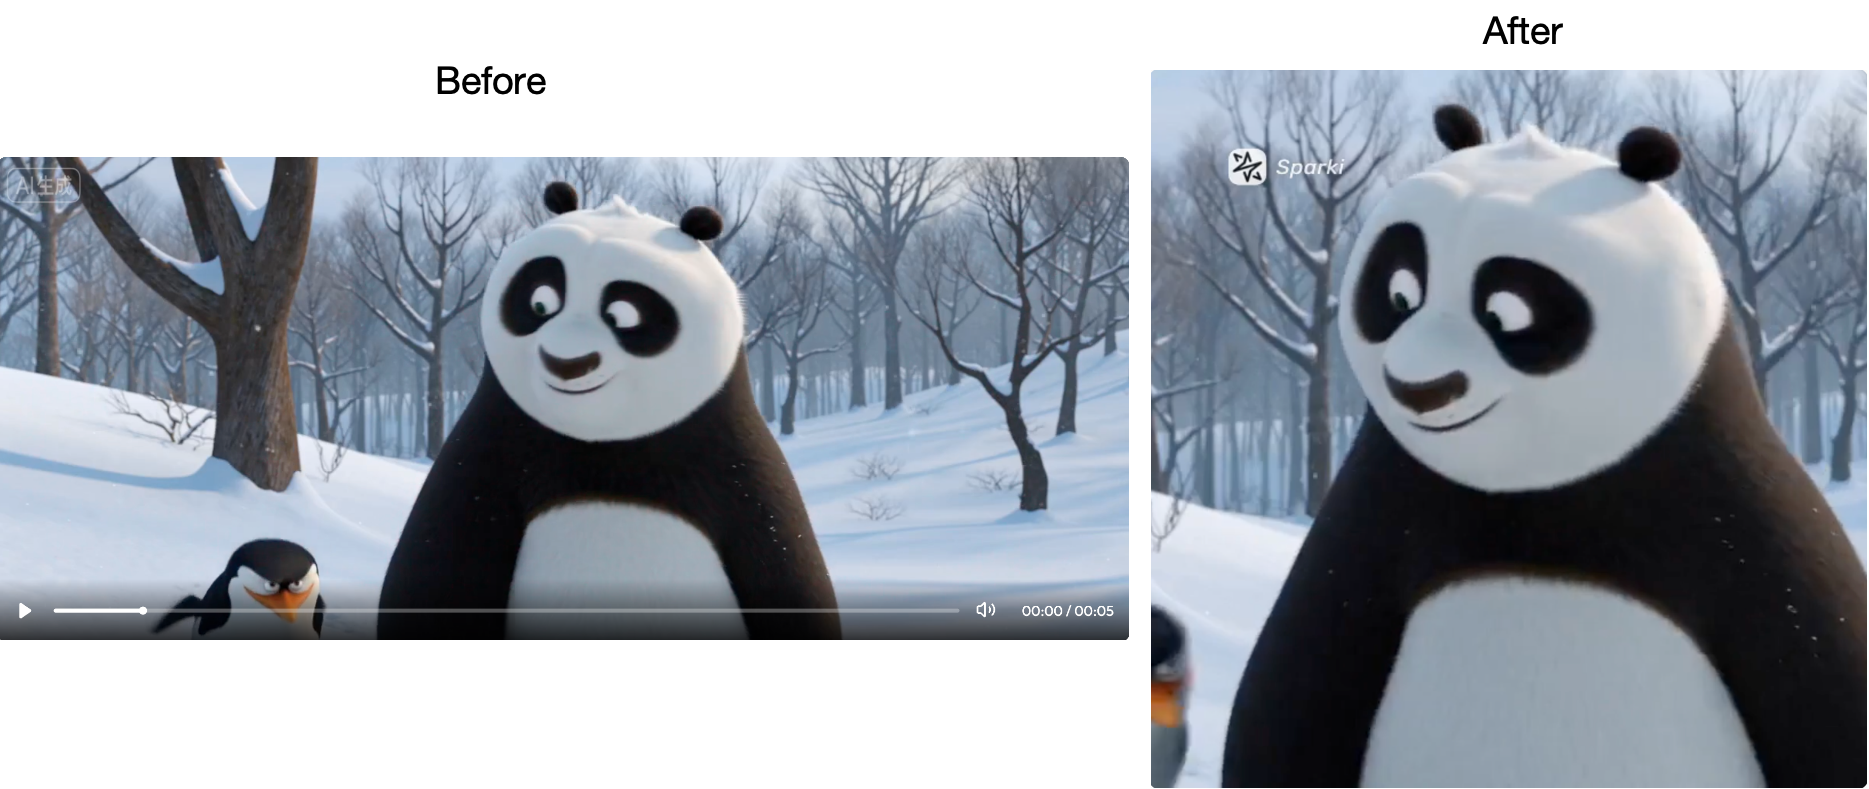
Illustration showing Sparki AI video resizer converting one source video into multiple aspect ratios such as 9:16, 1:1, and 4:5 for social media platforms.
4. Custom sizing and framing for harder cases
Some videos need more control than a preset can provide. That is why custom width and height options matter. They give the workflow flexibility when the output format or framing requirement is more specific than a default social ratio.This is most useful for:
-
platform-specific delivery constraints
-
unusual source compositions
-
branded layouts
-
test versions for paid social
-
content that needs more review before final export
This is also the safer route when the footage is not obviously crop-friendly and you do not want the resize workflow making strong assumptions.
Why crop-only workflows often fail
A lot of tools treat resizing as if crop is always the premium answer. In practice, that assumption breaks quickly.Crop fails when width carries meaning. A talking-head clip usually survives crop well. A gameplay clip often does not. A product demo with labels in the corners often does not either.Crop fails when the subject is not stable. Even a single-subject shot can break if the focal point shifts too much.
Crop fails when text safety matters. Captions, labels, and interface elements create edge risk, and platform display behavior is not always identical to edit preview.That is why a stronger resize workflow needs more than one method. It should let you crop when crop is the right answer, but also preserve more of the original frame when the footage demands it.
The formats that matter most in real publishing workflows
The goal is not endless preset variety. The goal is covering the aspect ratios that repeatedly show up in distribution.Sparki's Video Resizer is most useful when one source video needs to become formats like:
-
9:16 for Shorts, Reels, and TikTok
-
1:1 for square social placements
-
4:5 for taller feed formats
-
16:9 for YouTube and landscape delivery
-
custom width and height when the workflow needs more control
That matters because modern repurposing rarely ends at one export. A source clip may need vertical, square, and feed-optimized versions in the same publishing cycle. The resize workflow needs to support that reality without turning every format into a separate manual edit.
How to resize a video in Sparki
A practical product flow is simple:
-
Upload the source video
-
Choose the target aspect ratio such as 9:16, 1:1, 4:5, 16:9, or set a custom size
-
Choose the resize approach based on the footage: smart crop, blur background, subject-aware reframe, or a more controlled framing path
-
Review the frame to make sure the subject, text, and key visual details remain usable
-
Export platform-ready versions from the same source
This is a better workflow than treating resize as a one-click gamble. It keeps the editorial decision visible.
Where this feature is strongest
Sparki's Video Resizer is strongest in workflows where teams repeatedly need to repurpose one piece of footage into multiple formats without rebuilding the shot by hand each time.That usually means:
-
creators adapting long-form clips into short-form vertical outputs
-
marketers preparing multiple social placements from one source
-
teams converting interviews, demos, or explainers into platform-specific cuts
-
editors who need a faster first pass before manual QA
The value is not just time saved on export settings. The value is reducing how often resize work has to restart because the first framing choice was wrong.
Where manual review is still necessary
This feature should not be framed as universal automation. Some footage still benefits from closer human review:
-
multi-person scenes with equal visual importance
-
shots with tiny edge text
-
wide compositions built around the full frame
-
content where both crop and fill treatments create tradeoffs
That boundary matters. Good support content should increase confidence, not pretend every resize problem has a one-click answer.
Why this article should support the feature page, not replace it
The feature page should do the commercial job: show the capability, the UI, the proof, and the CTA.This article should do the support job: explain which resize method fits which footage, clarify why crop is not always the answer, and help users understand why Sparki's approach is broader than a basic video resizer.That is the right division of labor:
-
the feature page sells the product
-
the supporting article expands the decision logic and captures long-tail intent
https://sparki.io/blog/resize-video-for-shorts-reels-tiktok